


Terraform Cloud is a service that allows you to store your remote state in a SOC2 compliant environment.
I like using Terraform Cloud, it allows me to create infrastructure with Terraform, without the worry of handling sensitive variables or keeping my state file local. This allows me to work with others easily and without the worry of corrupting my state file.
This service can manage all my terraform actions, as well as my Terraform state, allowing me to have a well-documented history of my past builds and store environment variables easily outside of the codebase, which is a real bonus.
This can also be used in conjunction with version control & pipelines for a smooth CI/CD automation process.
I'm going to show you an API driven workflow I use with Github actions to automate my workflow. This will be a simple guide and I hope you find it helpful.
The setup
This setup assumes a level of understanding within Terraform and AWS.
Prerequisites:
- AWS account.
- Version control platform of choice (I will be using GitHub in this guide).
- Basic Terraform knowledge.
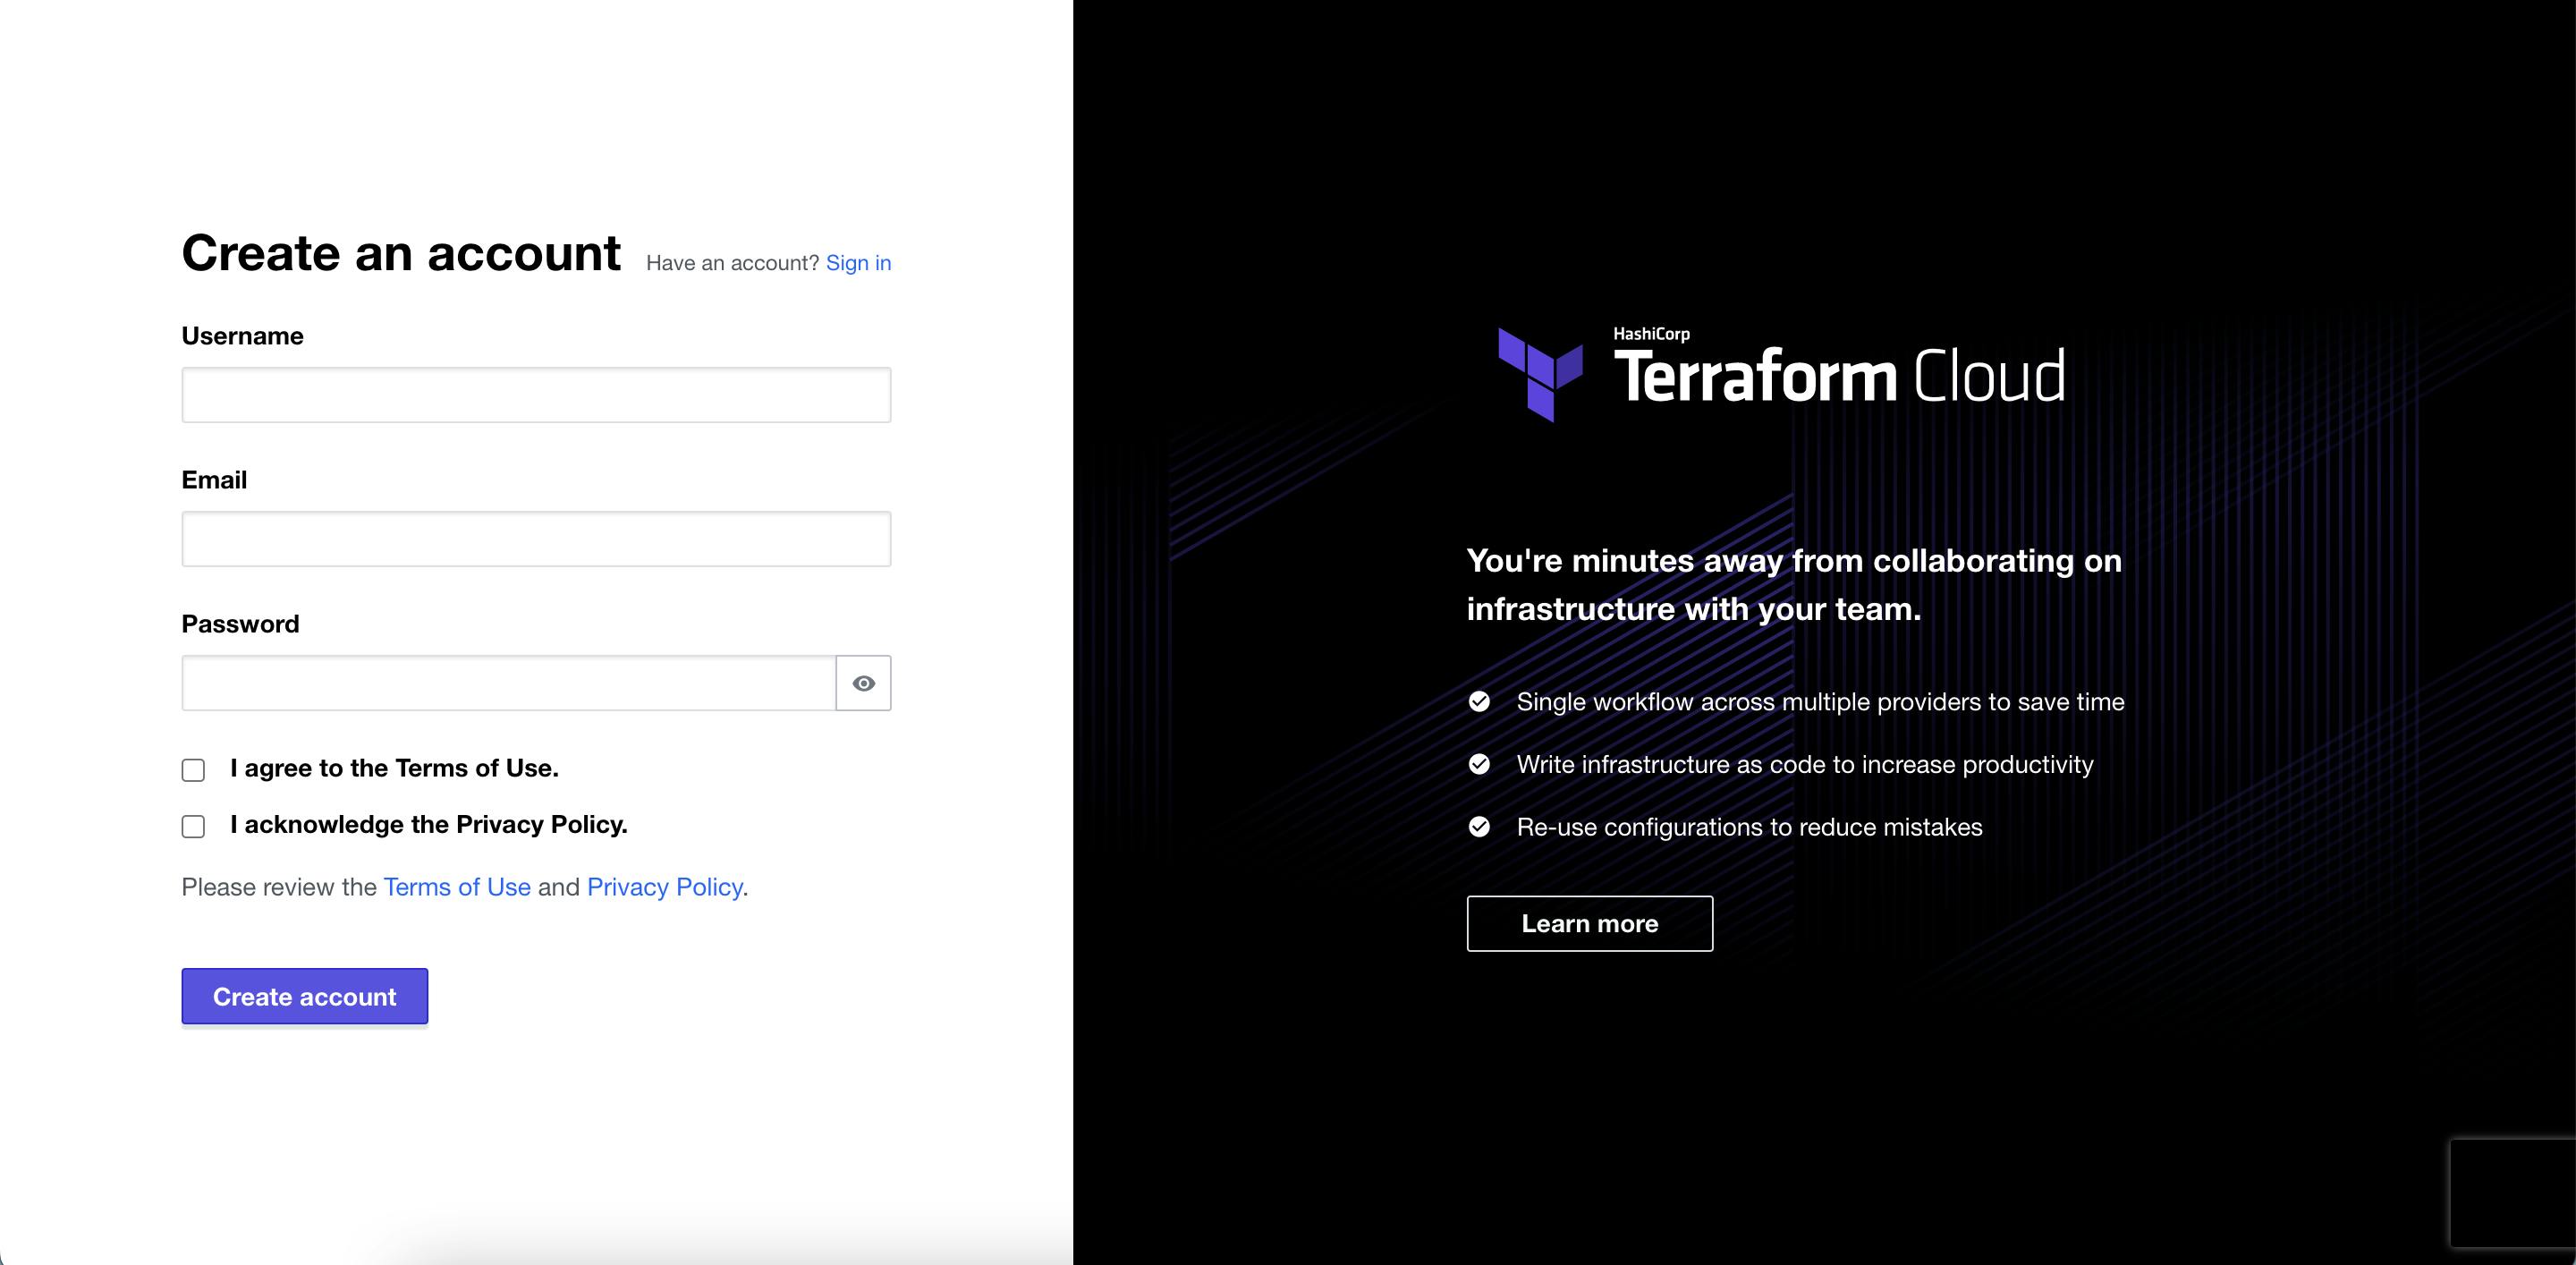
Step 1:
Create a Terraform Cloud account (free tier):
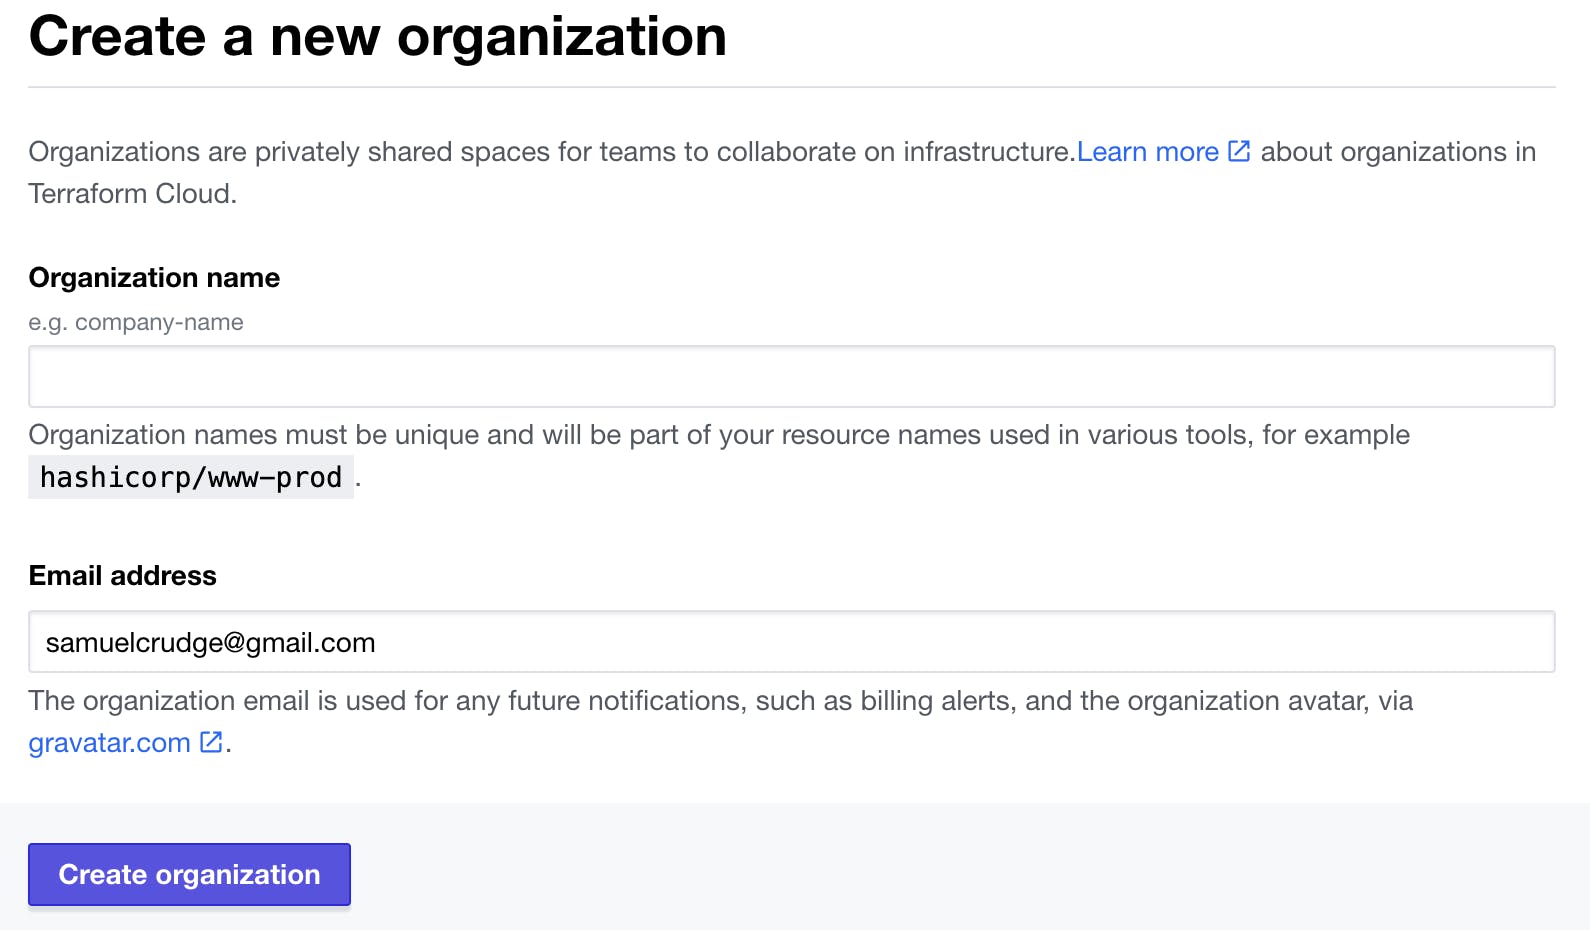
Step 2:
Once you have created your account setup an organisation:
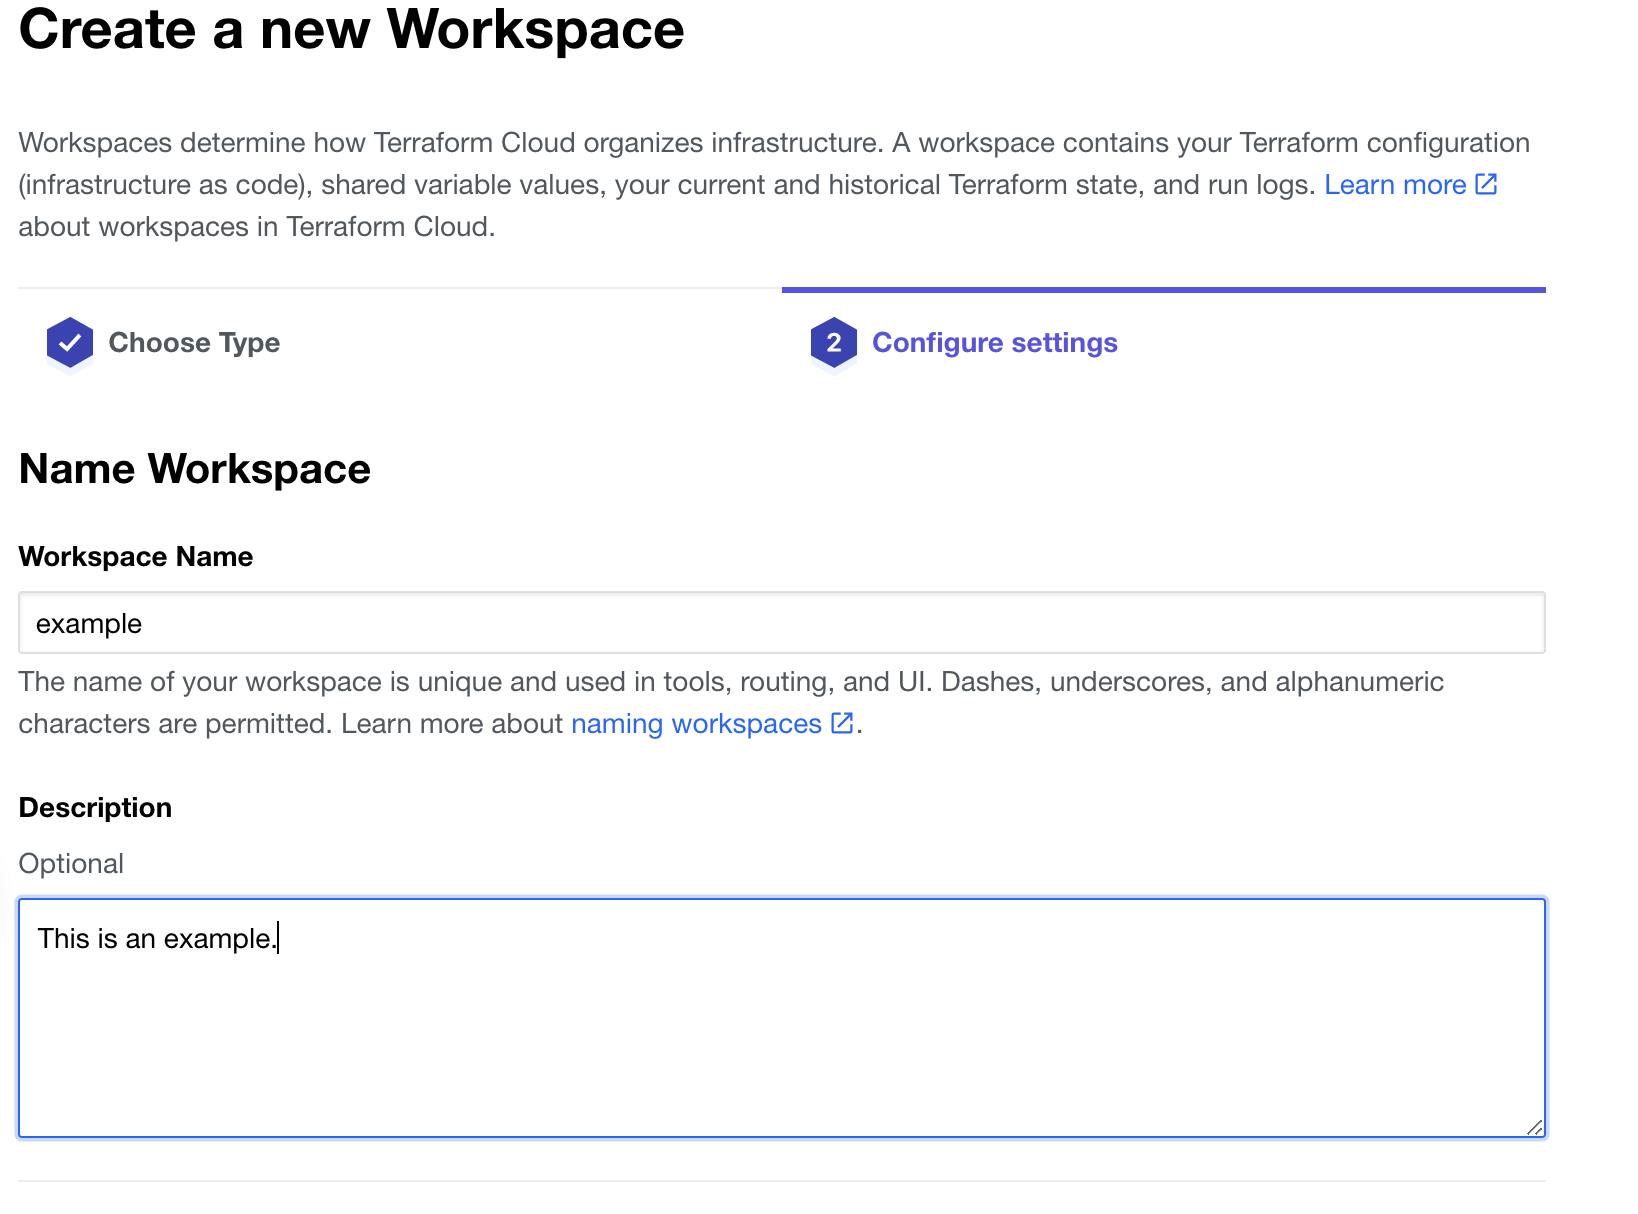
Step 3:
Create a workspace within the organisation you have created:
This is where we select API-driven workflow.
 Now to call it something interesting:
Step 4:
Let’s define our Terraform backend:
terraform {
  // Using Terraform Cloud
  backend "remote" {
    organization = "example"
    workspaces {
      name = "example"
    }
  }
  // Specifying provider to ensure no provider updates cause breaking changes.
  required_providers {
    aws = {
      source  = "hashicorp/aws"
      version = "4.10.0"
    }
  }
}
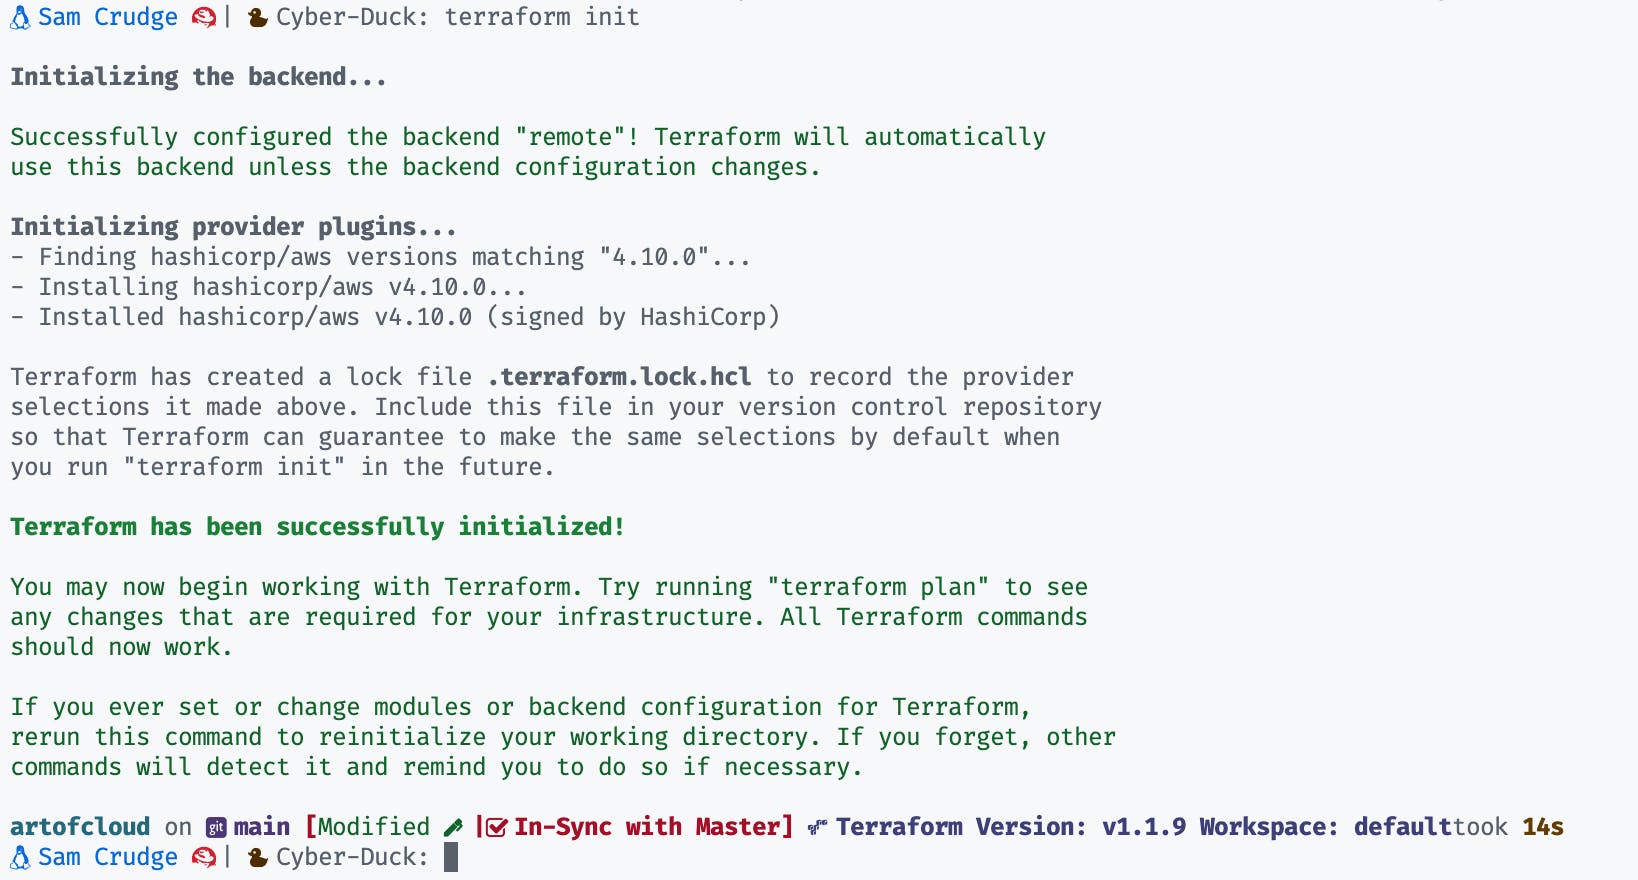
Step 5: Now we’re going to run a Terraform init (this will require a provider to be specified.)
terraform init
This will confirm your backend is now placed remotely in Terraform Cloud:
We are now nearly ready to implement a Github Action:
Before we dive into github.com we have a few things to wrap up in the repository.
// At the root of the project create 2 folders
// mkdir -p Will create the parent and child folder
// Create terraform.yaml file within this new folder structure
mkdir -p .github/workflows
touch .github/workflows/terraform.yaml
Within this terraform.yaml file we want to define our pipeline actions:
This is a pretty large file but don't be daunted as we are just defining actions we would normally perform in the CLI with a few nice to haves.
name: 'Terraform'
on:
push:
branches:
- main
pull_request:
jobs:
terraform:
name: 'Terraform'
runs-on: ubuntu-latest
environment: production
# Use the Bash shell regardless of whether the GitHub Actions runner is ubuntu-latest, macOS-latest, or windows-latest
defaults:
run:
shell: bash
steps:
# Checkout the repository to the GitHub Actions runner
- name: Checkout
uses: actions/checkout@v2
# Install the latest version of Terraform CLI and configure the Terraform CLI configuration file with a Terraform Cloud user API token
- name: Setup Terraform
uses: hashicorp/setup-terraform@v1
with:
cli_config_credentials_token: ${{ secrets.TF_API_TOKEN }}
# Checks that all Terraform configuration files adhere to a canonical format
- name: Terraform Format
run: terraform fmt -check
# Initialize a new or existing Terraform working directory by creating initial files, loading any remote state, downloading modules, etc.
- name: Terraform Init
run: terraform init
# Validate Terraform
- name: Terraform Validate
run: terraform validate
# Generates an execution plan for Terraform
- name: Terraform Plan
id: plan
if: github.event_name == 'pull_request'
run: terraform plan -no-color
continue-on-error: true
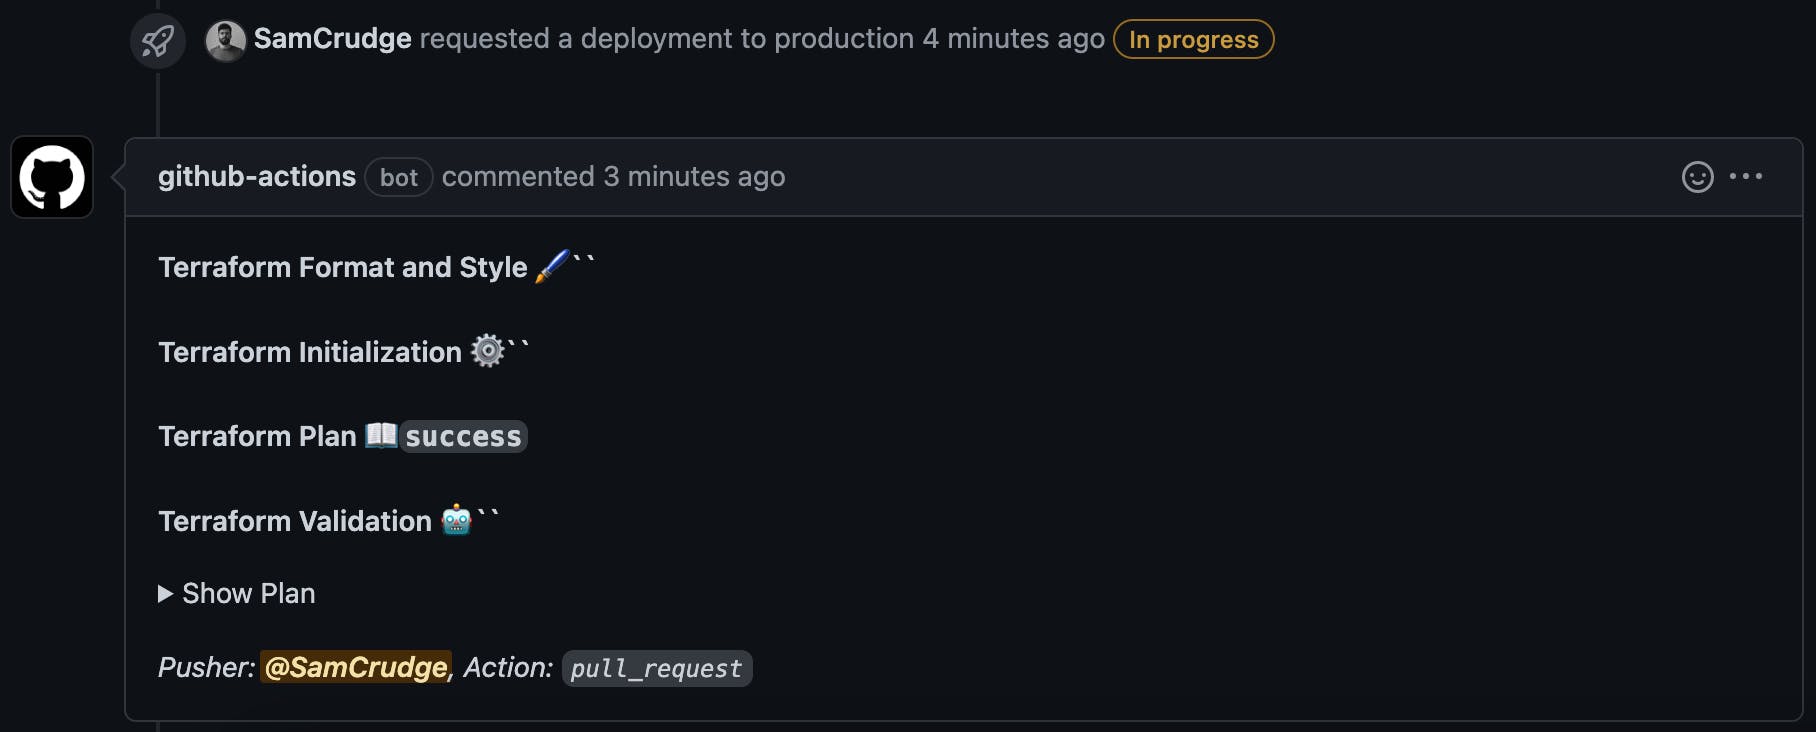
# Update PR with Plan.
- name: Update Pull Request
uses: actions/github-script@0.9.0
if: github.event_name == 'pull_request'
env:
PLAN: "terraform\n${{ steps.plan.outputs.stdout }}"
with:
github-token: ${{ secrets.GITHUB_TOKEN }}
script: |
const output = `#### Terraform Format and Style 🖌\`${{ steps.fmt.outcome }}\`
#### Terraform Initialization ⚙️\`${{ steps.init.outcome }}\`
#### Terraform Plan 📖\`${{ steps.plan.outcome }}\`
#### Terraform Validation 🤖\`${{ steps.validate.outcome }}\`
<details><summary>Show Plan</summary>
\`\`\`\n
${process.env.PLAN}
\`\`\`
</details>
*Pusher: @${{ github.actor }}, Action: \`${{ github.event_name }}\`*`;
github.issues.createComment({
issue_number: context.issue.number,
owner: context.repo.owner,
repo: context.repo.repo,
body: output
})
- name: Terraform Plan Status
if: steps.plan.outcome == 'failure'
run: exit 1
# On push to main, build or change infrastructure according to Terraform configuration files
# Note: It is recommended to set up a required "strict" status check in your repository for "Terraform Cloud".
- name: Terraform Apply
if: github.ref == 'refs/heads/main' && github.event_name == 'push'
run: terraform apply -auto-approve
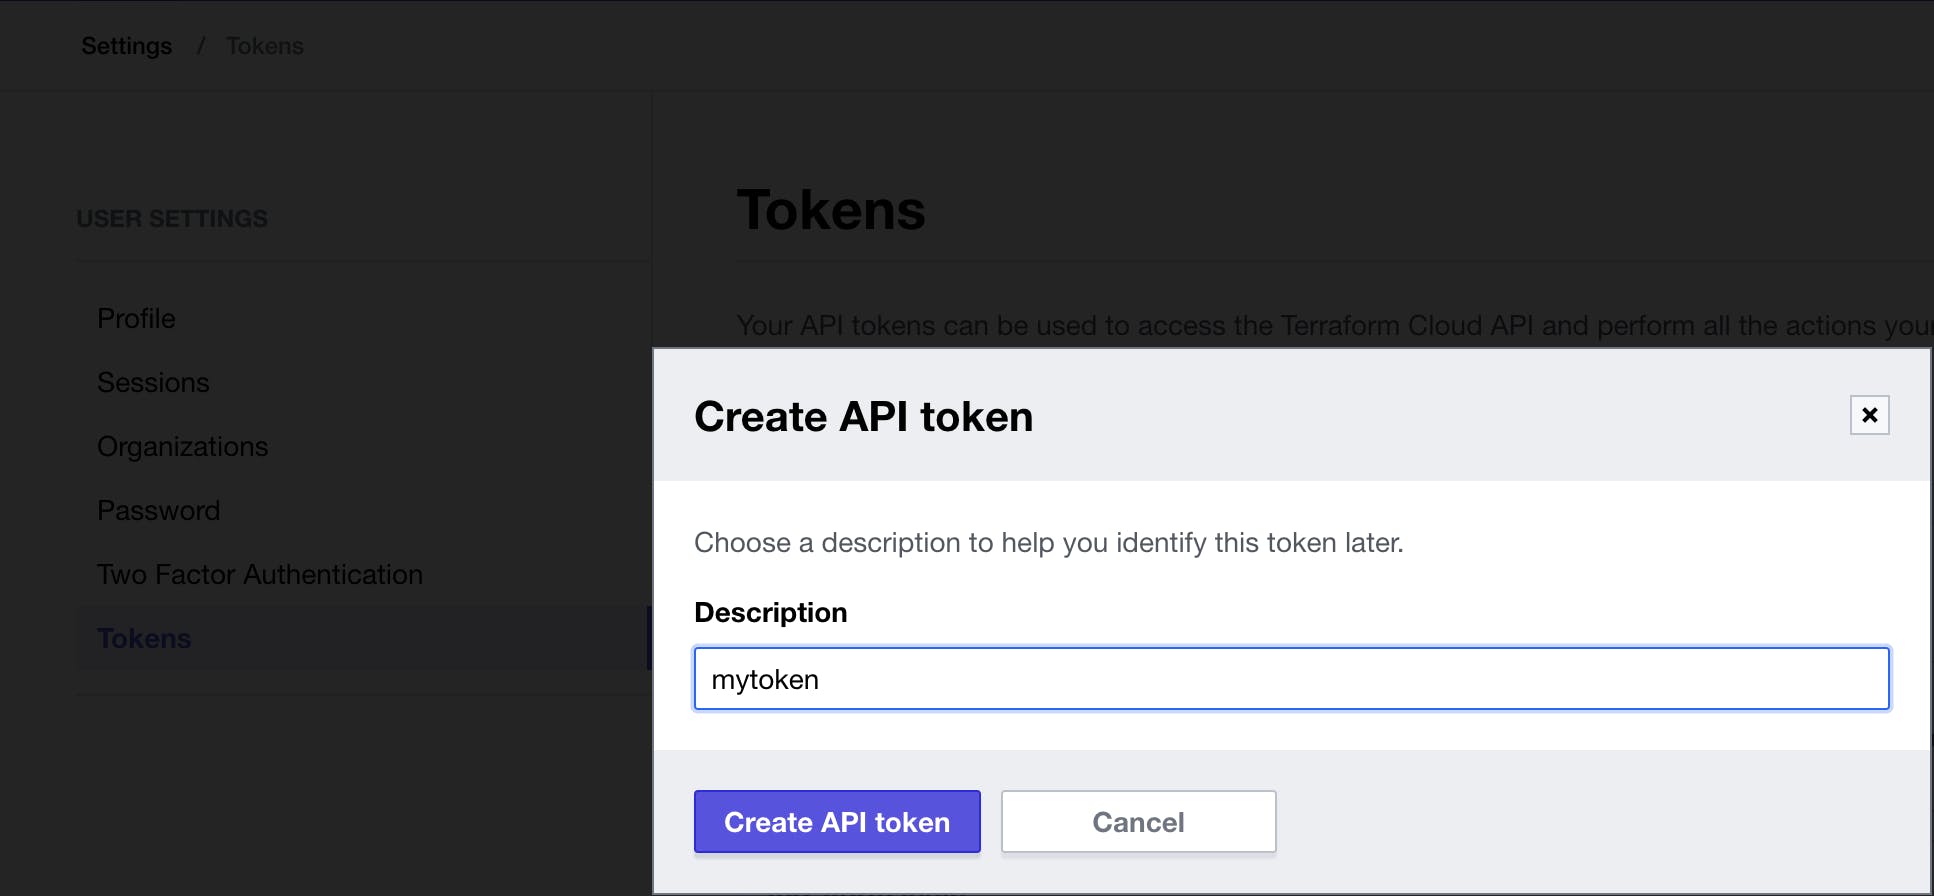
Step: 6:
On Terraform Cloud once you are logged in, head to your Profile -> User-settings -> Tokens,
create an API token and save the credential ready to place this in your Github Action Secret.
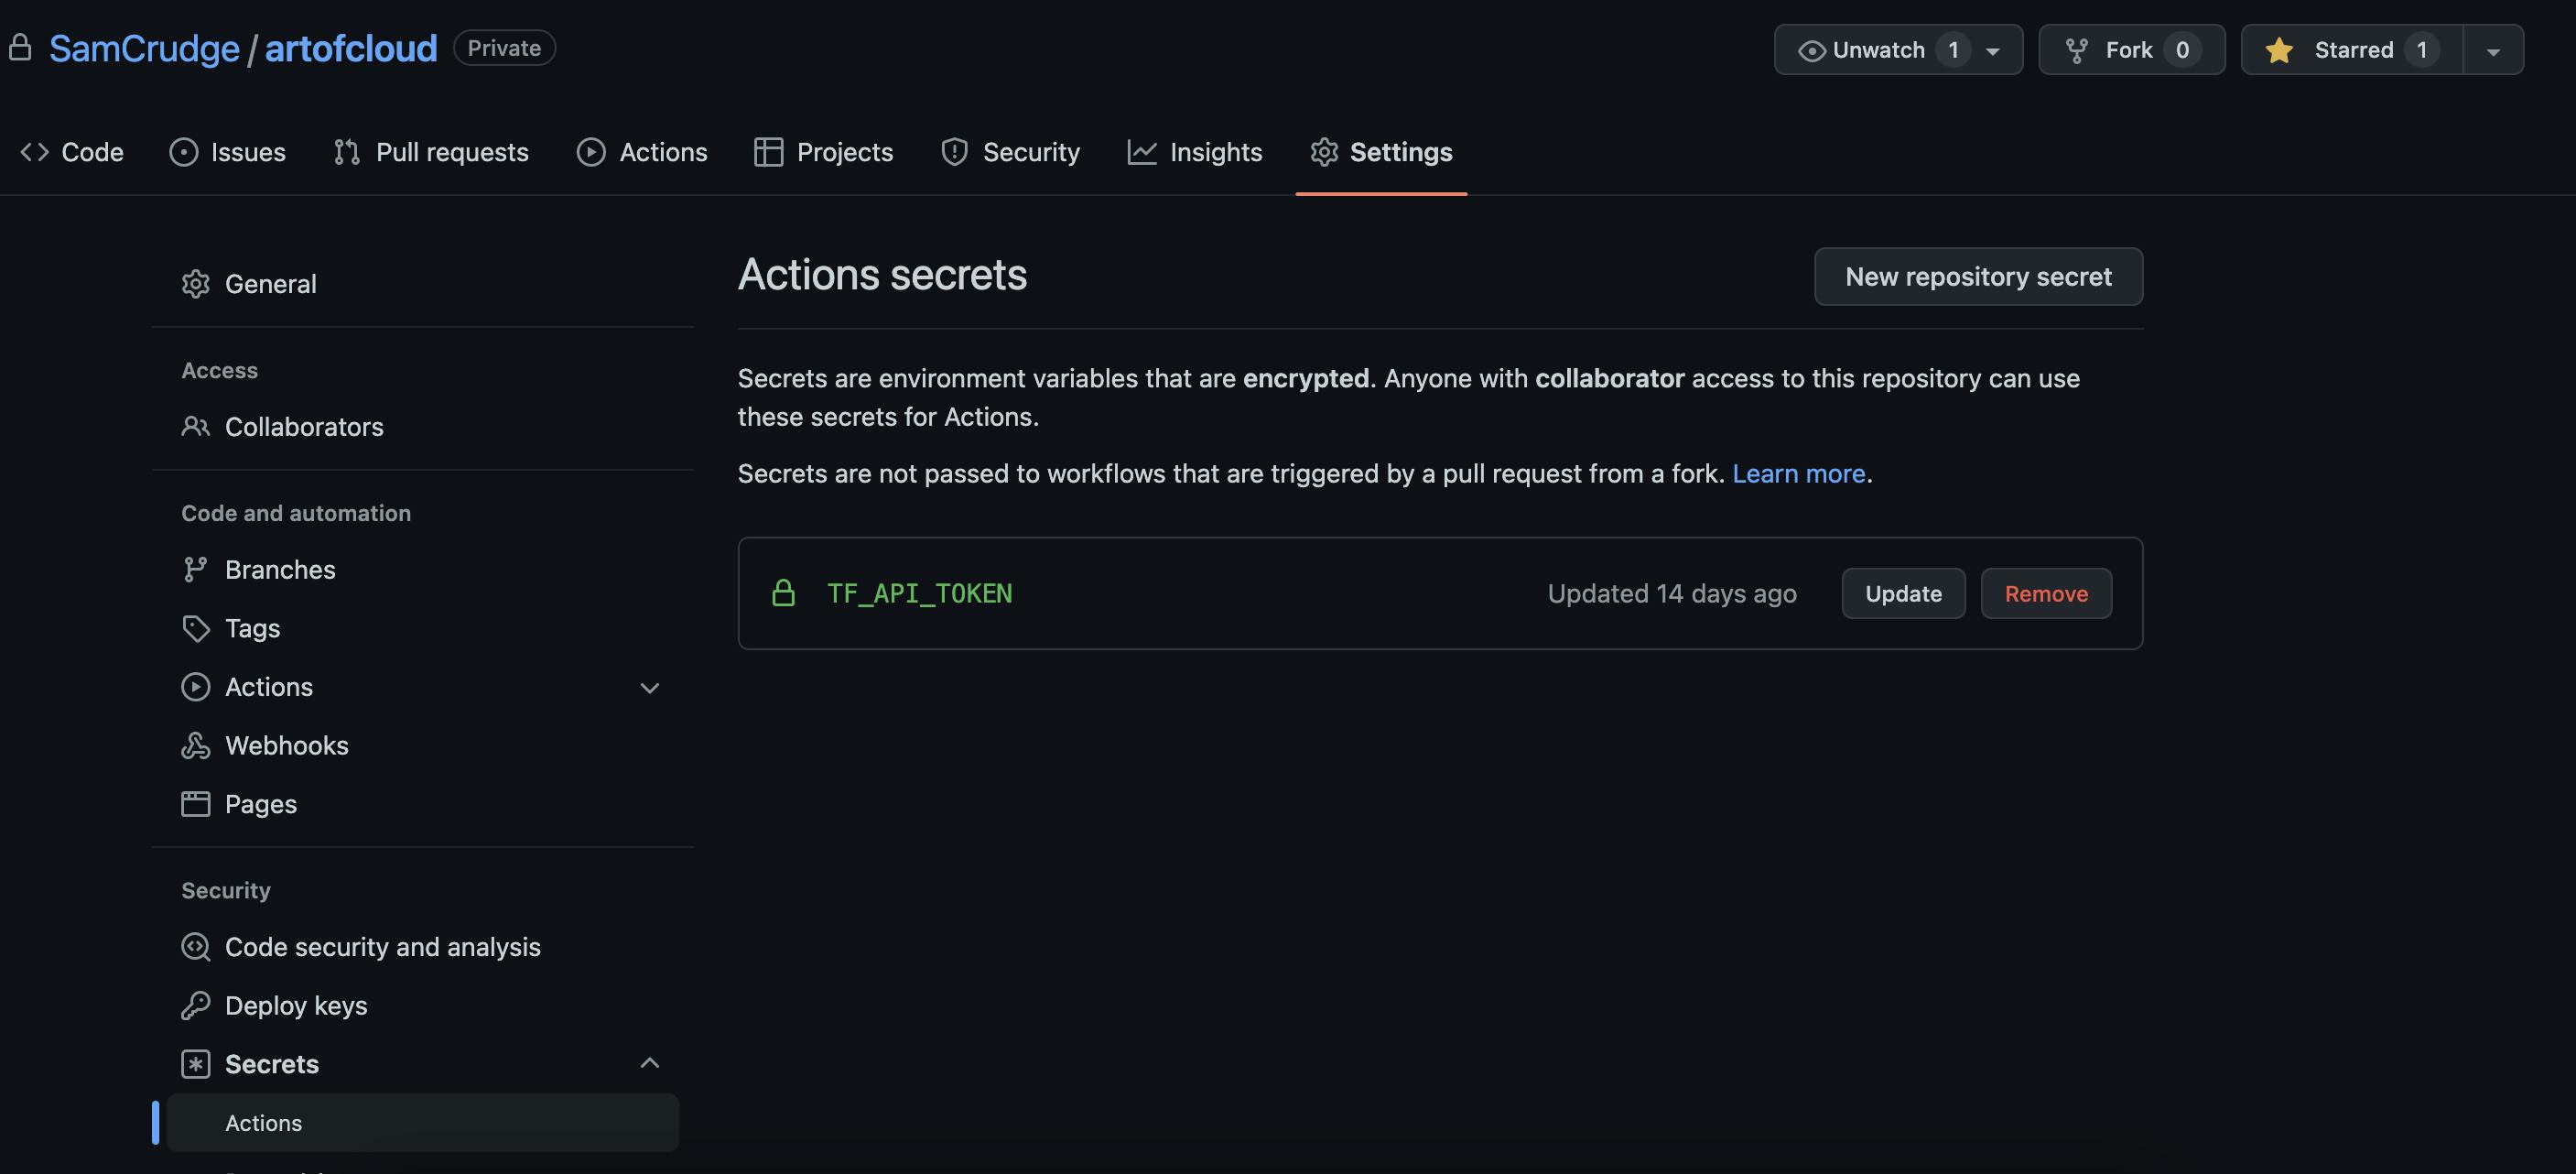
Step 7:
This is when I place my API token on Github.
Github repository -> Settings -> Secrets -> Actions:
Congratulations! You are now ready to push your code and create PRs with an automated deployment process!
Please reach out either in the comments or on Twitter if you have any questions!
Hello, Just a short thank you for taking the time to read my blog, I'm planning on doing write-ups once a week and covering topics across the DevOps and SRE space.
Sam Crudge
DevOps and SRE @ Cyber-Duck